Hi all,

With this as the first article, i will start my journey towards AL (future for Dynamics NAV). I know its late but due to some personal commitments, i was unable to start it early.
In this article, we will configure AL environment on Local Environment. If you already have configured then please provide what I missed while trying to find it.
Step 1 - Add Mordern Developer environment.
If you have not installed NAV 2018 then make sure to select Modern Development Environment during installation.
If you have already installed then Run setup again and select add or remove the component and select Modern Development Environment.

Step 2 - Download and install Visual Studio Code.
Download the latest Visual Studio Code using the link.

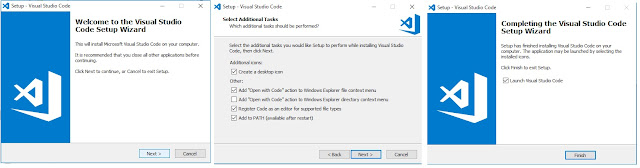
Install the Visual Studio Code as shown below. (Run as administrator)
Step 3 - Install Extensions.
Open Visual Studio Code, and then select Extensions menu (Left-hand Last option).
Search for Install.VSIX.
Select and install the Extension as shown below.

After Installation of extension then from the file menu, select the Open folder, and Select Modern Dev Environment folder.
** Default Path - C:\Program Files (x86)\Microsoft Dynamics NAV\110\Modern Development Environment

Select the ALLanguage.vsix, Right click, and select install Extension.

You also may run into error message, as i did during installation (shown below).

Manually write code to install the extension -> code --install-extension ALLanguage.vsix

AL Language is Extension is installed and in next article how we refer NAV C/AL Objects into VS.
Let me know your views on same and if you have any issues.
Regards,
Saurav Dhyani
www.sauravdhyani.com

With this as the first article, i will start my journey towards AL (future for Dynamics NAV). I know its late but due to some personal commitments, i was unable to start it early.
In this article, we will configure AL environment on Local Environment. If you already have configured then please provide what I missed while trying to find it.
Step 1 - Add Mordern Developer environment.
If you have not installed NAV 2018 then make sure to select Modern Development Environment during installation.
If you have already installed then Run setup again and select add or remove the component and select Modern Development Environment.

Step 2 - Download and install Visual Studio Code.
Download the latest Visual Studio Code using the link.

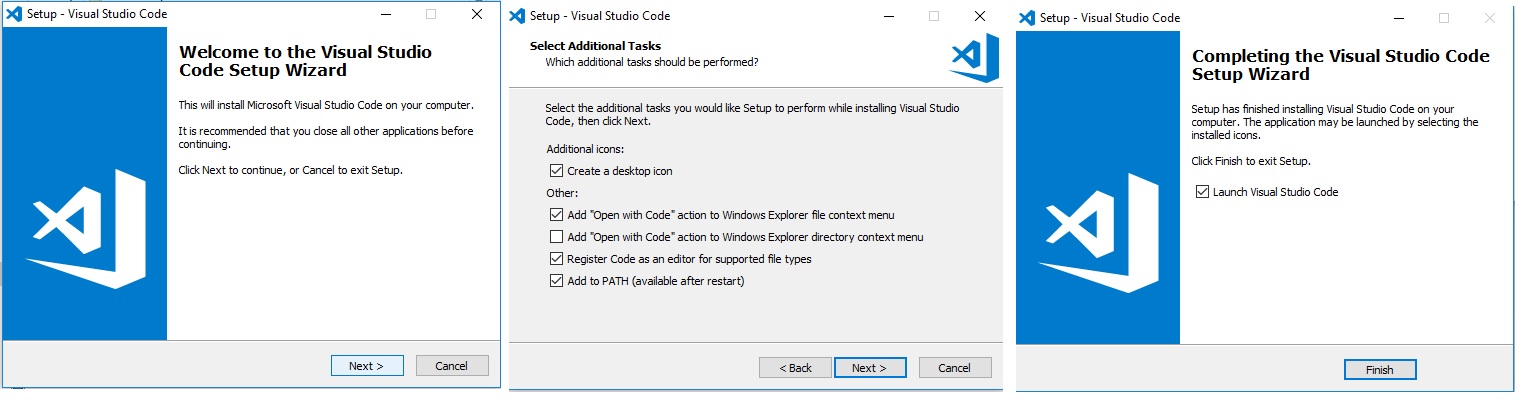
Install the Visual Studio Code as shown below. (Run as administrator)
Step 3 - Install Extensions.
Open Visual Studio Code, and then select Extensions menu (Left-hand Last option).
Search for Install.VSIX.
Select and install the Extension as shown below.

After Installation of extension then from the file menu, select the Open folder, and Select Modern Dev Environment folder.
** Default Path - C:\Program Files (x86)\Microsoft Dynamics NAV\110\Modern Development Environment

Select the ALLanguage.vsix, Right click, and select install Extension.

You also may run into error message, as i did during installation (shown below).

Manually write code to install the extension -> code --install-extension ALLanguage.vsix

AL Language is Extension is installed and in next article how we refer NAV C/AL Objects into VS.
Let me know your views on same and if you have any issues.
Regards,
Saurav Dhyani
www.sauravdhyani.com
Comments
Post a Comment